
Self-taught Software Developer | Full-Stack, DevTools & Open Source
How I Designed the Architecture of EnvLink
The decisions and tradeoffs behind building an end-to-end encrypted environment file sharing tool.
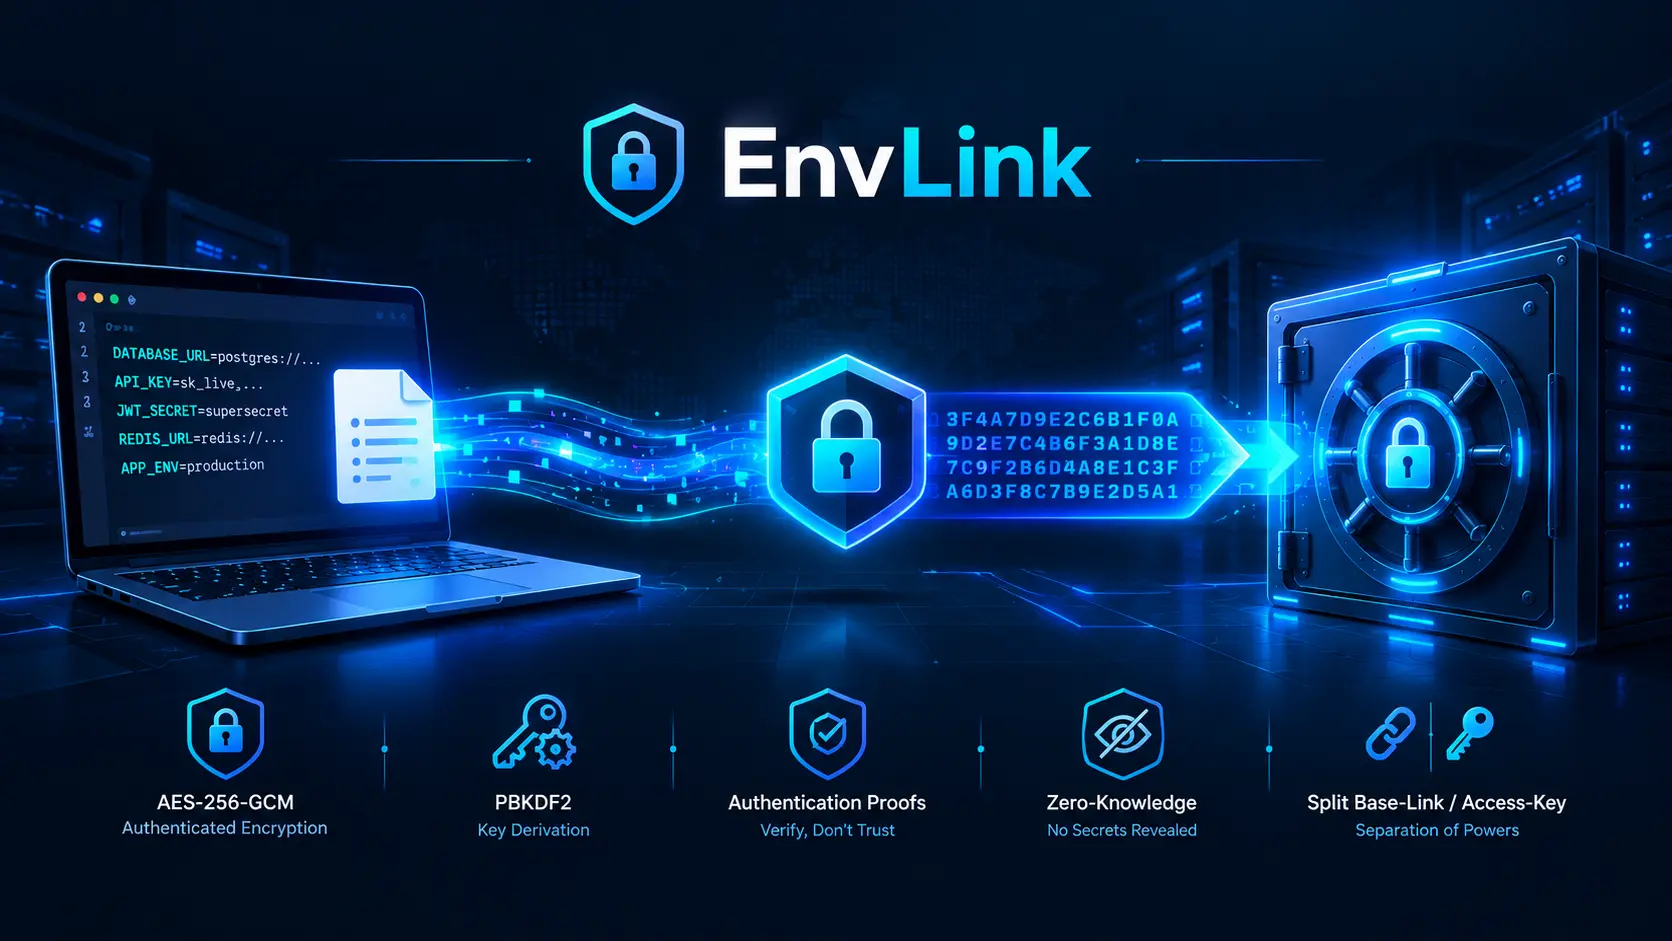
So I built this tool called EnvLink, and I want to walk you through how I implemented the encryption part. Not because I think it’s groundbreaking or anything - it’s mostly just standard crypto primitives wired together properly - but because I learned a ton building it and made some interesting decisions along the way.
The Core Problem I Was Solving
Here’s the thing: I was tired of seeing people share.envfiles on Slack or Discord. Database URLs with passwords in them, API keys, AWS credentials - just sitting there in chat history forever.
I wanted to build something where:
- You could quickly share env files with your team
- The server hosting it couldn’t read your secrets (even if it wanted to)
- Links would auto-expire so old credentials don’t float around forever
That third requirement meant I needed a server. But the second requirement meant the server couldn’t be trusted with plaintext. So, client-side encryption it is.
Two Modes: Password vs No Password
Early on, I had to make a choice. Do I always require passwords, or do I make it optional?
I went with both. Here’s why:
Password-protected mode is for production database URLs, API keys you really care about, stuff you’re sharing with your actual team. Someone needs to know the password to decrypt.
Optional-password mode (which I added later) is for when you just want to quickly share staging configs or when you’re onboarding someone and don’t want them to fumble with copying a password. The decryption key is embedded in the extended ID itself (not as a URL parameter).
The optional-password mode embeds the access key directly in the ID formatel_{baseId}{accessKey}. It’s still encrypted in transit and at rest, and most importantly, the EnvLink server still can’t read it because the access key never gets sent to the server. I figured if you’re using it for low-stakes stuff, the convenience is worth it.
Here’s how the two modes differ architecturally:
graph TD
    subgraph pw["Password-Protected Mode"]
        A1[.env Files] --> B1[Password Input]
        B1 --> C1[Hash Password]
        C1 --> D1[Encrypt Files]
        D1 --> E1[Send Encrypted + Hash]
        E1 --> F1[Server Storage]
        F1 --> G1[Return Encrypted Data]
        G1 --> H1[Decrypt with Password]
        H1 --> I1[.env Files Out]
    end

    subgraph op["Optional-Password Mode"]
        A2[.env Files] --> B2[Generate Access Key]
        B2 --> C2[Encrypt Files]
        C2 --> D2[Send Encrypted Only]
        D2 --> E2[Server Storage]
        B2 --> F2[Embed in Extended ID]
        E2 --> G2[Return Encrypted Data]
        F2 --> H2[Extract Key from ID]
        G2 --> I2[Decrypt with Key]
        H2 --> I2
        I2 --> J2[.env Files Out]
    end
The Encryption Stack
I went with AES-256-GCM because:
- It’s fast
- It’s battle-tested
- It gives you authenticated encryption (the GCM part)
That last point is important. With GCM mode, if anyone tampers with the encrypted data, decryption fails. You can’t just flip some bits and hope it works.
For password-based key derivation, I used PBKDF2 with 100,000 iterations. I know some people prefer Argon2 or scrypt, but PBKDF2 is in Node’s crypto module out of the box, and 100k iterations is expensive enough to make brute-forcing painful.
First, here are the crypto constants:
const CRYPTO_CONFIG = {
  ALGORITHM: "aes-256-gcm",
  DIGEST: "sha256",
  KEY_LENGTH: 32,
  IV_LENGTH: 16,
  ITERATIONS: 100000,
};
Here’s the key derivation function:
const deriveKey = async (password, salt) => {
  const pbkdf2 = util.promisify(crypto.pbkdf2);
  return pbkdf2(
    password,
    salt,
    CRYPTO_CONFIG.ITERATIONS,
    CRYPTO_CONFIG.KEY_LENGTH,
    CRYPTO_CONFIG.DIGEST,
  );
};
This takes a password and salt, runs 100,000 iterations of PBKDF2 with SHA-256, and outputs a 32-byte (256-bit) key. That’s what we use for AES-256-GCM encryption.
Here’s my encryption function:
export const encrypt = async (plaintext, password) => {
  const salt = crypto.randomBytes(CRYPTO_CONFIG.KEY_LENGTH);
  const key = await deriveKey(password, salt);
  const iv = crypto.randomBytes(CRYPTO_CONFIG.IV_LENGTH);

  const cipher = crypto.createCipheriv(CRYPTO_CONFIG.ALGORITHM, key, iv);

  const encrypted = Buffer.concat([
    cipher.update(plaintext, "utf8"),
    cipher.final(),
  ]);

  return {
    encryptedData: encrypted.toString("base64"),
    iv: iv.toString("base64"),
    salt: salt.toString("base64"),
    authTag: cipher.getAuthTag().toString("base64"),
  };
};
The salt and IV are generated randomly every time. This means even if you encrypt the same file with the same password twice, you get completely different output. That’s important because it prevents attackers from learning anything by comparing encrypted files.
The auth tag from GCM is the secret sauce - it proves the data hasn’t been modified.
And here’s the decryption function:
export const decrypt = async (input, password) => {
  const encryptedData = Buffer.from(input.encryptedData, "base64");
  const iv = Buffer.from(input.iv, "base64");
  const salt = Buffer.from(input.salt, "base64");
  const authTag = Buffer.from(input.authTag, "base64");

  try {
    const key = await deriveKey(password, salt);
    const decipher = crypto.createDecipheriv(CRYPTO_CONFIG.ALGORITHM, key, iv);

    decipher.setAuthTag(authTag);

    const decrypted = Buffer.concat([
      decipher.update(encryptedData),
      decipher.final(),
    ]);

    return decrypted.toString("utf8");
  } catch {
    throw new Error("Invalid password or corrupted data");
  }
};
The decryption uses the same salt to derive the key, verifies the auth tag (if it doesn’t match, decryption fails), and returns the plaintext. If anything’s wrong with the password or the data has been tampered with, you get an error.
Here’s the complete encryption flow:
sequenceDiagram
    participant User
    participant Client
    participant Crypto
    participant Server

    User->>Client: Provide password & files
    Client->>Crypto: Generate random salt (32 bytes)
    Client->>Crypto: Generate random IV (16 bytes)
    Crypto->>Crypto: PBKDF2(password, salt, 100k iterations)
    Note over Crypto: Derives 256-bit AES key
    Crypto->>Crypto: AES-256-GCM encrypt
    Crypto-->>Client: encrypted data + IV + salt + auth tag
    Client->>Client: Hash password with SHA-256
    Client->>Server: Send encrypted payload + password hash
    Server->>Server: Store everything (no password!)
    Server-->>Client: Return EnvLink ID
Creating a Password-Protected Link
Here’s how the actual password-protected creation works in the CLI:
const encryptedData = JSON.stringify(
  await encrypt(JSON.stringify(files), password),
);

const passwordHash = hashPasswordDeterministic(password);

const requestPayload = {
  encryptedData,
  passwordHash,
  expirationDuration: expiration,
  filesCount: filesToUpload.length,
};

if (reference && reference.trim() !== "") {
  requestPayload.reference = reference;
}

const response = await apiClient.post("/envlinks", requestPayload);
The key point: the password itself NEVER goes to the server. Only the hash does. And because the encryption happens first with the actual password, the server can’t decrypt even with the hash.
The Zero-Knowledge Proof Thing
For password-protected links, I needed the server to verify that someone knows the correct password, but I couldn’t send the password to the server (because then the server could decrypt the files).
What I ended up doing is a challenge-response type thing:
- When you create a link, I hash your password with SHA-256 and send that hash to the server
- When you try to access the link, you generate a “proof” by combining that hash with a salt that’s unique to the link
- The server does the same calculation and compares the results
Here’s the actual code:
export const generateZKProof = async (passwordHash, envlinkId) => {
  const serverSalt = crypto
    .createHash(CRYPTO_CONFIG.DIGEST)
    .update(`envlink:${envlinkId}`)
    .digest("hex");

  const input = passwordHash + serverSalt;

  const key = await deriveKey(input, serverSalt);

  return key.toString("base64");
};
The important bit: the proof is different for every link (because the link ID is in the salt). So even if someone intercepts a valid proof, they can’t reuse it for a different link.
On the server side, I do the same calculation with the stored password hash and compare:
const clientProof = Buffer.from(req.body.proof, "base64");
const expectedProof = Buffer.from(
  await generateZKProof(storedHash, linkId),
  "base64",
);

const isValid = crypto.timingSafeEqual(clientProof, expectedProof);
ThattimingSafeEqualcall is crucial. Regular===comparison would leak information through timing - an attacker could measure how long the comparison takes and figure out where the strings differ.timingSafeEqualalways takes the same amount of time regardless of where the difference is.
Here’s the complete zero-knowledge proof flow:
sequenceDiagram
    participant Client
    participant Server

    Note over Client,Server: Creation Phase
    Client->>Client: Hash password (SHA-256)
    Client->>Server: Send passwordHash + encrypted data
    Server->>Server: Store passwordHash (NOT the password!)

    Note over Client,Server: Access Phase
    Client->>Client: Hash password (SHA-256)
    Client->>Client: Generate salt from linkId
    Client->>Client: PBKDF2(passwordHash + salt, salt)
    Client->>Server: Send proof (not password!)

    Server->>Server: Get stored passwordHash
    Server->>Server: Generate same salt from linkId
    Server->>Server: PBKDF2(storedHash + salt, salt)
    Server->>Server: timingSafeEqual(client proof, expected proof)

    alt Proof matches
        Server-->>Client: Return encrypted data
        Client->>Client: Decrypt with original password
    else Proof doesn't match
        Server-->>Client: 401 Unauthorized
    end
Optional-Password Links: A Different Approach
For optional-password links, I took a simpler route.
When you create one, I generate a random 16-character access key using Base62 encoding (0-9, A-Z, a-z). That key is used to encrypt the files, but it never gets sent to the EnvLink server. Instead:
- Server gets: base ID + encrypted data
- You get: extended ID that includes the access key
The Base62 encoding function:
const BASE62_CHARS =
  "0123456789ABCDEFGHIJKLMNOPQRSTUVWXYZabcdefghijklmnopqrstuvwxyz";

const generateBase62String = (length) => {
  const randomBytes = crypto.randomBytes(length);
  let result = "";

  for (let i = 0; i < length; i++) {
    const byte = randomBytes[i];
    result += BASE62_CHARS[byte % BASE62_CHARS.length];
  }

  return result;
};

const generateAccessKey = () => generateBase62String(16);
So a link looks like:el_abc123xyz456accesskey789
The first 19 characters (el_abc123xyz456) go to the server for lookup. The last 16 (accesskey789) stay client-side only and are used for decryption.
const accessKey = generateAccessKey();

const encryptedData = JSON.stringify(
  await encrypt(JSON.stringify(files), accessKey),
);

const response = await api.post("/envlinks", {
  encryptedData,
  filesCount: files.length,
});

const extendedId = `${response.data.id}${accessKey}`;
When someone installs it:
const extendedId = "el_abc123xyz456accesskey789";
const baseId = extendedId.slice(0, 19);
const accessKey = extendedId.slice(19);

const response = await api.get(`/envlinks/${baseId}`);

const decrypted = await decrypt(response.data, accessKey);
My EnvLink server never sees that access key. It can’t decrypt the files even if it wanted to.
Here’s how optional-password links work:
sequenceDiagram
    participant Client
    participant Server
    participant Recipient

    Note over Client: Creation
    Client->>Client: Generate random baseId (16 chars)
    Client->>Client: Generate random accessKey (16 chars)
    Client->>Client: Encrypt files with accessKey
    Client->>Server: POST baseId + encrypted data
    Note over Server: Stores only baseId + ciphertext
Access key NEVER sent!
    Server-->>Client: Success
    Client->>Client: Combine: el_{baseId}{accessKey}

    Note over Recipient: Installation
    Recipient->>Recipient: Parse extended ID
    Recipient->>Recipient: Extract baseId (first 19 chars)
    Recipient->>Recipient: Extract accessKey (last 16 chars)
    Recipient->>Server: GET /envlinks/{baseId}
    Server-->>Recipient: Return encrypted data
    Recipient->>Recipient: Decrypt with accessKey
    Recipient->>Recipient: Write .env files
What Actually Gets Stored
I’m paranoid about logging and accidentally exposing stuff, so I was very careful about what hits the database.
For password-protected links:
{
  id: "el_fWaoSeUJYOttvsq6",
  encryptedData: "{\"encryptedData\":\"AKMyRweoUPy1MObsAth1KAlTyASlfQhUzsrFHxo4dtUHc5AKxe9XWlyWtJgB6tSjilm9n30sviaupHK+53PiyNfpARP270D3jeqER4jjo083AiFngbXJiZq8bfNyt6J/ltQ+Jd4JNhIF6nXdOg3tTtP...\",\"iv\":\"URHszVV7+sVISXMN4e8mHw==\",\"salt\":\"rEy7JdnEgbEkW6PPTLc7tjAoXTEMPZxK3AqcjY3+2ew=\",\"authTag\":\"s9WAZhS0F6Cw9SAorsJPGA==\"}",
  passwordHash: "256abe4a7476c2baaa8907a038dc2b2c28fe3cd6178a43b1911f8fb95343390f",
  filesCount: 3,
  expiresAt: "2026-10-09T04:00:04.227Z",
  reference: "prod-api-keys",
  installCount: 2,
  createdAt: "2026-10-08T04:00:04.228Z",
  updatedAt: "2026-10-08T04:00:35.620Z"
}
For optional-password links (extended ID):
{
  id: "el_abc123xyz456",
  encryptedData: "{\"encryptedData\":\"k7jH9mP2xQ8vN5tR3wL6zBpYcXvKnMqAsFdGhJkLmNoP...\",\"iv\":\"a8b3c9d2e1f4g5h6\",\"salt\":\"m4n5o6p7q8r9s0t1u2v3w4x5y6z7a8b9\",\"authTag\":\"x9y8z7a6b5c4d3e2\"}",
  filesCount: 2,
  expiresAt: "2026-10-08T11:30:00.000Z",
  installCount: 0,
  createdAt: "2026-10-08T10:30:00.000Z",
  updatedAt: "2026-10-08T10:30:00.000Z"
}
No passwords. No access keys. No plaintext files. TheencryptedDatais a JSON string containing the encrypted payload with salt, IV, auth tag, and ciphertext - but it’s all encrypted. Without the correct password (for password-protected) or access key (for optional-password), it’s just random bytes. No way to decrypt anything on the server side.
Here’s what data flows where:
graph TD
    subgraph client["Client Side - Never Leaves Machine"]
        A[Password/Access Key]
        B[Plain .env Files]
        C[Encryption Key]
    end

    subgraph network["Network - Safe to Transmit"]
        D[Encrypted Data]
        E[Password Hash / Base ID]
        F[Salt + IV + Auth Tag]
    end

    subgraph server["Server Side - Safe to Store"]
        G[Database]
        H[Stored: Encrypted Data]
        I[Stored: Password Hash]
        J[Stored: Metadata]
    end

    A --> C
    B --> D
    C --> D

    D --> G
    E --> G
    F --> G

    G --> H
    G --> I
    G --> J
Why I Built It This Way
I could’ve built a simpler version where the server encrypts stuff with its own keys. That’s what most file-sharing services do. But then:
- I’d be responsible for protecting those keys
- A breach would expose everything
- Legal requests could force me to hand over data
- Users would have to trust me
With zero-knowledge encryption:
- I literally can’t read your files
- A breach gets the attacker nothing but encrypted blobs
- Legal requests are useless (I can’t decrypt what I don’t have keys for)
- Users don’t have to trust me - the crypto is open source, they can verify
Final Thoughts
Building EnvLink taught me that good security isn’t about using the fanciest algorithms or the newest cryptographic primitives. It’s about:
- Clearly defining what you’re protecting and from whom
- Using well-tested building blocks correctly
- Making the secure path the easy path
- Being honest about limitations and tradeoffs
If you’re building something similar, feel free to steal ideas from this. That’s why it’s open source.
Now go encrypt some stuff. 🔐
This is part of my build-in-public series where I write about projects I’m working on. Follow me on GitHub for more.